
Making Handmade Birthday Cards That Wow
Handmade birthday cards are so much more than just a bit of paper and glue. They're little keepsakes, turning a simple "Happy Birthday" into a truly memorable moment. When you create one yourself, you get to pour a little bit of your personality into every detail, from the colours you choose to the message inside, making it a perfect fit for the person you're celebrating.
Why Handmade Cards Mean So Much More
Let's be real—it's easy to grab a card off the shelf at the supermarket, but does it ever feel truly special? A handmade card, however, is a tangible piece of your time, effort, and affection. It shows you skipped the convenience aisle to create something totally unique, weaving your care right into the design. That's a personal connection a mass-produced card just can't touch.
When you sit down to make a birthday card, you’re not just crafting; you’re telling a little story. You can pick colours that bring back an inside joke, use textures that match their personality, and write a message that comes straight from the heart.
The real magic of a handmade card is that it becomes part of the gift itself—a personal, heartfelt gesture that people often treasure long after the candles are blown out.
The Lasting Impact of a Personal Touch
The effort you put in really does speak volumes. It’s a powerful way to show someone they are worth your time and creative energy. It's why these cards often end up on a desk or a pinboard for years to come, a constant reminder of a special bond. In a world full of quick texts and digital messages, a handmade creation truly stands out.
This thoughtful approach isn't just for cards, either. If you want to see how a personal touch can elevate any present, you can find some fantastic unique gift ideas for children that show just how meaningful personalisation can be.
Throughout this guide, we'll walk you through everything you need to know to get started. We'll cover:
- Picking the right supplies without blowing your budget.
- Mastering a few core skills for a polished, professional finish.
- Designing stunning layouts, no matter your skill level.
- Adding those final, special touches that create a 'wow' moment.
Think of this as your friendly roadmap to a creative journey that’s as fun to take as it is rewarding at the end.
Building Your Card Making Toolkit
Jumping into the world of handmade birthday cards is such a rewarding experience, and having the right supplies on hand makes all the difference. The good news? You don't need to buy out the entire craft store. The trick is to start with a few quality essentials that will serve you well across countless projects. This way, you can build your skills without getting bogged down by too many choices.
First things first: good quality cardstock. This is literally the foundation of your card, so you want something that feels sturdy and substantial in your hands. To get the best results, it’s worth taking a moment for understanding paper weights for card making—it really helps you pick the perfect base. A paper trimmer is another absolute game-changer. It’s the secret to getting those perfectly clean, straight cuts that give your cards a polished, professional look.
These are the things that make a handmade card so special: the personal connection, the one-of-a-kind design, and the fact it becomes a keepsake.
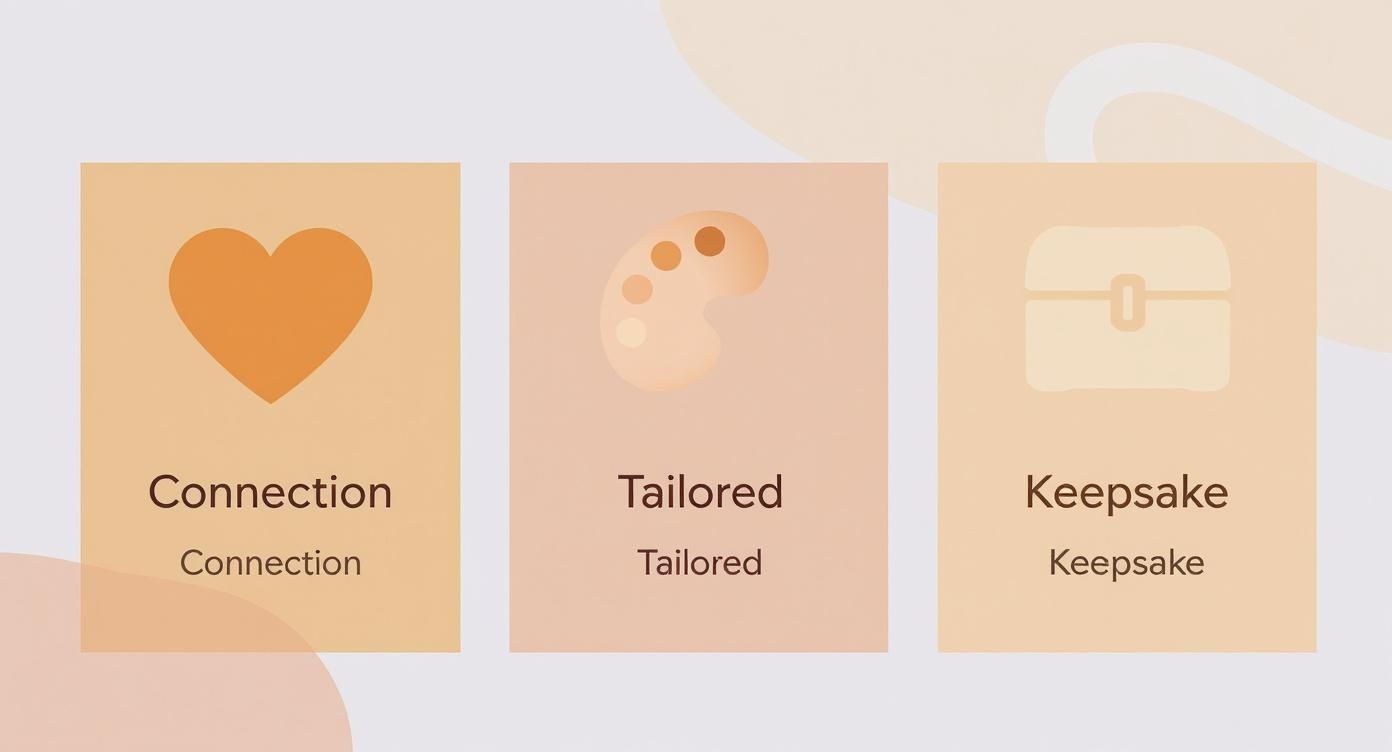
Every element you add turns the card from just a piece of paper into a truly meaningful gift.
Your Card Making Starter Kit
Knowing what you really need versus what’s just nice to have can be tricky when you’re starting out. This little guide breaks it down to help you build a practical and effective toolkit from day one.
| Item Category | Essential Item | Why It's Essential | Optional Upgrade |
|---|---|---|---|
| Paper & Cutting | Good quality cardstock & a paper trimmer | The cardstock is your base, and the trimmer ensures clean, professional-looking cuts. | A scoring board for perfect, crisp folds every time. |
| Adhesives | Double-sided tape runner & a fine-tip liquid glue | The tape is fantastic for layering paper cleanly, while the glue is perfect for tiny, detailed embellishments. | Foam mounting tape to add dimension and make elements pop. |
| Decoration | A few sheets of patterned paper & a fine black pen | Patterned paper adds instant colour and interest, and a good pen is a must for writing your message. | Stamps and ink pads for professional-looking sentiments. |
| Embellishments | A small pack of basic embellishments (e.g., rhinestones or sequins) | These add a touch of sparkle and a finishing touch without being too complicated. | Decorative punches or die-cutting tools for custom shapes. |
Starting with the essentials allows you to get a feel for the craft without a huge initial investment. You can always add the optional upgrades later as you discover which techniques you enjoy most.
Must-Haves Versus Nice-to-Haves
With your paper and trimmer sorted, your next non-negotiable is a reliable adhesive. I always recommend a double-sided tape runner for quick, mess-free layering, and a liquid glue with a fine tip for attaching those fiddly little bits and pieces. These basics really are the core of any card maker’s kit.
Once you’ve got a handle on the fundamentals, you can start exploring the fun tools that add that extra bit of flair. Think of these as your "nice-to-haves" that can take your designs to the next level.
- Embossing Folders: These clever plastic folders create the most incredible raised patterns and textures on cardstock. You just pop the paper in and run it through a die-cutting machine.
- Decorative Punches: Available in every shape you can imagine (hearts, stars, flowers, you name it!), punches are a super quick way to create perfect, repeatable shapes to decorate your cards.
- Stamps and Inks: You can't go wrong with a simple "Happy Birthday" stamp and a black ink pad. It’s a fantastic starting point for creating clear, crisp messages that always look great.
My Pro Tip: When you're just starting your collection, go for versatile shapes and neutral colours. You'd be surprised how much use you'll get out of a basic circle punch and a quality black ink pad—they become the backbone of so many different designs.
Finally, remember that your toolkit will grow and evolve along with your skills. For anyone just dipping their toes in, many of these core supplies can be found in our curated collection of Creative & Craft Gifts, which is a brilliant way to build a solid foundation for your new hobby.
Mastering the Core Card-Making Skills
Alright, you’ve got your supplies ready, so let's get our hands dirty! This is where the real magic happens—transforming a simple piece of cardstock into something that looks polished and professional. The secret to beautiful handmade birthday cards isn't some complex, hidden art; it's all about mastering a few fundamental techniques that truly make all the difference.
Say goodbye to those wobbly folds and messy layers. With a few simple tricks up your sleeve, you can elevate your creations from looking simply 'homemade' to looking expertly 'handcrafted'. We're going to focus on three core skills: getting that perfect fold, creating depth with layering, and adding those elegant final touches with stamping and embossing.
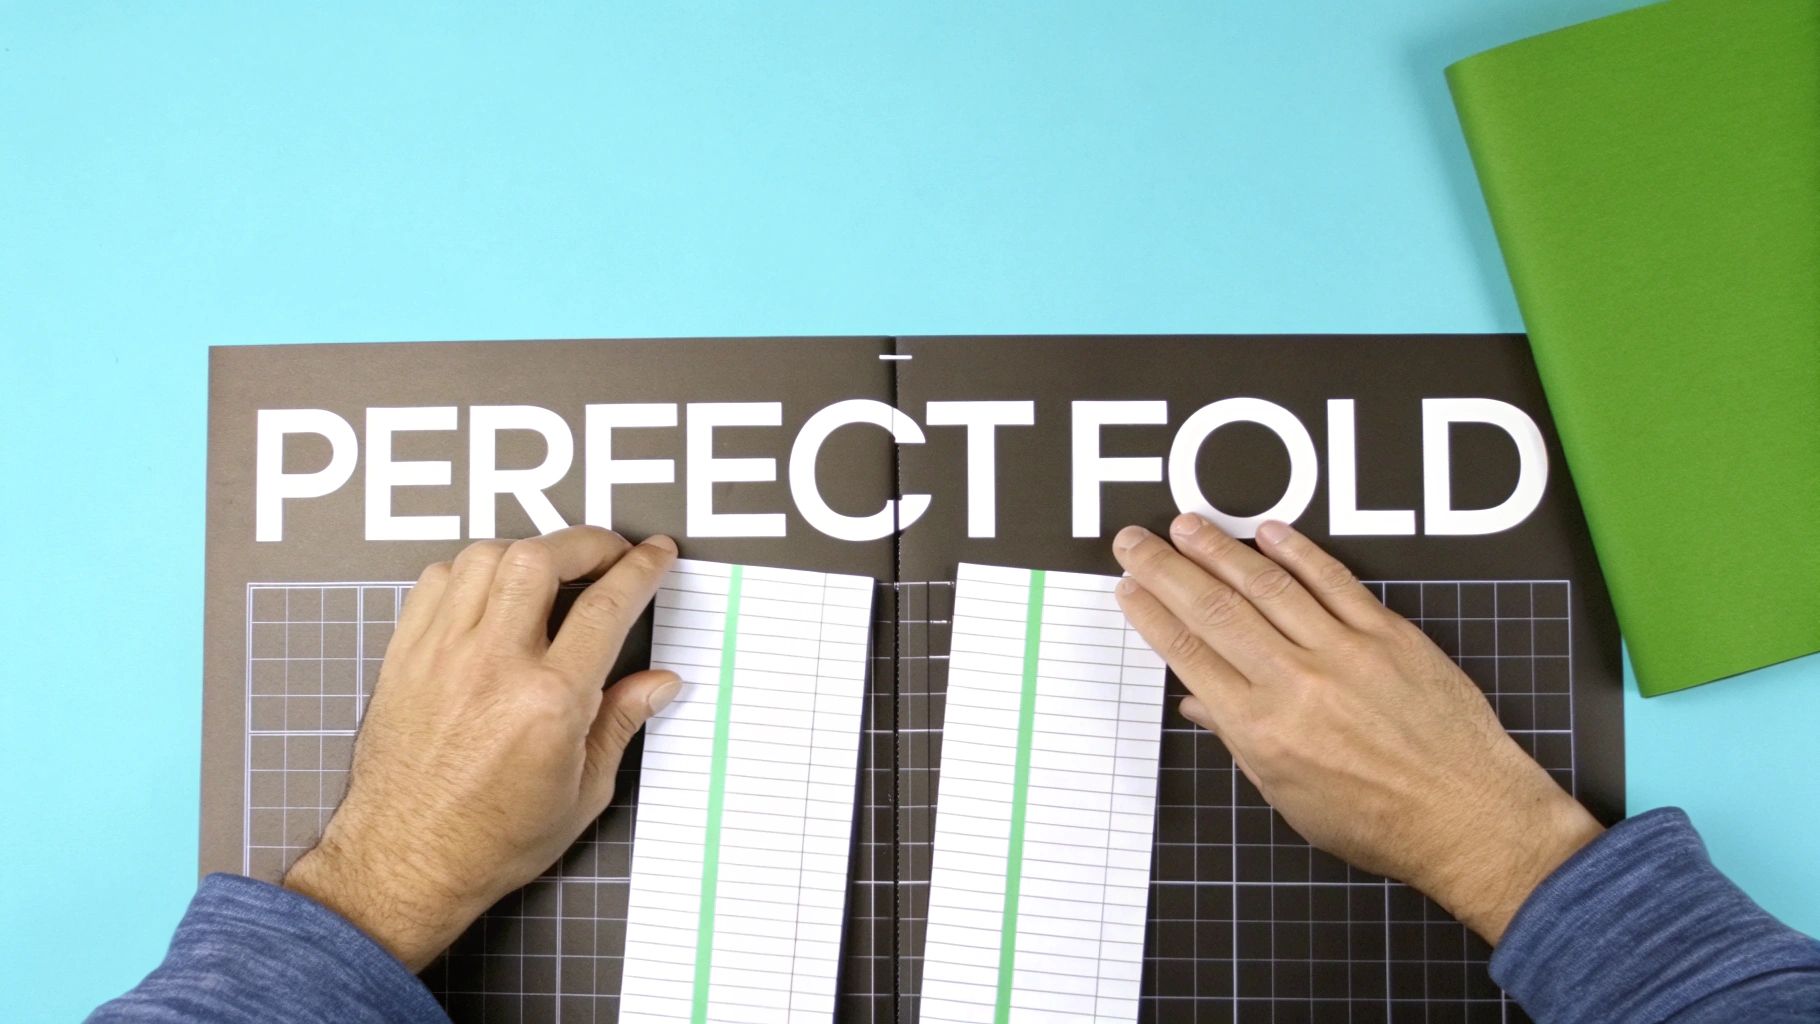
Nailing the Perfect Fold Every Time
Think about it—the first thing anyone does with a card is open it. A crisp, clean fold immediately signals quality and care. If you've ever tried to just fold a thick piece of cardstock by hand, you've probably ended up with a cracked, uneven crease. The solution? Scoring.
Scoring is simply creating a neat indent along your fold line before you actually bend the paper. This little step guides the paper fibres, allowing them to fold cleanly right along that line. The result is a sharp, professional edge that looks fantastic.
You don't need a lot of fancy gear to do this. A couple of tools work brilliantly:
- A Scoring Board: This is my go-to. It's a board with pre-set grooves. You just place your cardstock on it, find your measurement, and run a bone folder down the groove for a perfect line every time.
- A Bone Folder and Ruler: No scoring board? No worries. A sturdy ruler and a bone folder will do the trick. Even the back of a butter knife can work in a pinch! Just hold that ruler down firmly and press as you run your tool along its edge.
My Best Pro Tip: Always fold into the "bump" that your score line creates. This means the indented line you made should end up on the outside of your fold. It helps prevent any cracking on the spine and gives you the absolute cleanest finish.
Honestly, this single step will instantly make your handmade birthday cards look more thoughtful and well-constructed.
The Art of Layering for Depth and Appeal
Layering is one of the easiest and most effective ways to add visual punch and a sense of dimension to your designs. It’s all about stacking different pieces of paper or cardstock, usually with a slight border, to create a frame or background for your main feature.
Think of it like framing a picture. A simple panel of patterned paper, cut just a fraction smaller than your card front, can make the entire design pop. For instance, on a standard A6 card base (10.5cm x 14.8cm), I often cut my top layer to 10cm x 14.3cm. That tiny, deliberate border it creates is just enough to draw the eye inward.
While store-bought cards are still popular, the personal touch of a handmade card gives it a massive emotional impact. In 2022, traditional cards held 75.76% of the market revenue share, and personalised creations were a huge part of that. If you're curious, you can read more about greeting card market trends to see just how much people value a card made with care.
Simple Stamping and Heat Embossing
Don't think you need to be an artist to create beautiful images on your cards! Stamping is a fantastic way to add sentiments, patterns, and pictures without any drawing skills required. A quality black ink pad and a clear "Happy Birthday" stamp are the perfect place to start. For a crisp impression, press the stamp evenly onto the ink pad, then press it firmly onto your paper without rocking it back and forth.
Ready to take it up a notch? You have to try heat embossing. This technique adds a stunning raised, glossy finish to your stamped images that looks incredibly elegant and feels amazing to the touch.
Here's the basic process, and it's easier than it sounds:
- First, stamp your image using a special, slow-drying embossing ink.
- Next, sprinkle embossing powder all over the wet ink, making sure it's completely covered.
- Gently tap off all the excess powder (pop it back in the jar for next time!).
- Finally, use a heat tool to gently warm the powder. You'll see it melt and transform into a smooth, shiny, raised design.
The result is a show-stopping, textured detail that adds a true touch of luxury to your handmade birthday cards.
Bringing Your Unforgettable Card to Life
Alright, you've got the basics down. Now for the really fun part: the design! A show-stopping handmade card doesn't just happen by magic; it starts with a little bit of planning. This is where you get to turn a pile of supplies into something cohesive and beautiful that will absolutely make their day.
The first step can often feel like the biggest hurdle: just deciding what to make. My advice? Don't just sit there staring at a blank piece of cardstock, waiting for inspiration to strike. Go looking for it! The best place to start is with the person you're making it for. Do they adore bright, punchy colours, or are they more into soft, earthy tones? Are they a fan of clean, modern designs or do they love a more rustic, layered look? Simply thinking about them is often all it takes to get the creative ideas flowing.
Finding Your Creative Spark
Before you even think about cutting your paper, grab a pencil and some scrap paper and just sketch out a rough idea. Honestly, this five-minute step can save you so much time and precious cardstock later on. It’s your chance to play around with where the main image will go, where you’ll put the greeting, and how you might add any little extras.
Most really effective designs have a clear focal point—that one thing that your eyes are immediately drawn to.
A good focal point gives the eye somewhere to land, stopping the design from feeling too busy or cluttered. It might be a big, beautiful stamped image, a fancy hand-lettered greeting, or even a fun, interactive element.
Once you know what your focal point is, it's time to think about your colour palette. Here's a pro tip that always works: pick just two or three colours from your main element (like a piece of patterned paper) and stick with them for everything else. If your paper has shades of blue, yellow, and grey, use those same colours for your card base, your ink, and your embellishments. This simple bit of discipline is what makes a card look polished and professionally put together.
Three Card Recipes to Get You Started
To help you jump right in, I've put together three go-to "recipes" for birthday cards. Think of them less as strict rules and more as starting points you can twist and personalise. Each one has a totally different vibe, giving you a launchpad to find your own style.
Recipe 1: The Clean and Simple Modernist
This style is all about minimalism. It lets crisp white space and a single, powerful image do all the talking. It's the perfect way to create a really chic and elegant card without a lot of fuss.
- You'll Need: A crisp white card base, a single stamp (a bold floral or a cool geometric shape works well), one or two ink colours, and a simple sentiment stamp.
- How to Do It: Stamp your main image just a little off-centre on the front of your card. Pop your sentiment in a clean, simple font just below it. The real secret here is to know when to stop—that empty space is just as important as the stamping!
Recipe 2: The Vibrant and Layered Celebration
If you want a card that's bursting with energy, this is the one for you. We'll use multiple layers of patterned paper and cardstock to build up heaps of depth, texture, and fun. It's also a brilliant way to use up some of those paper scraps we all hoard!
- You'll Need: A coloured card base, two or three patterned papers that work well together, solid-coloured cardstock for layering, some fun extras like sequins or ribbon, and a die-cut or stamped greeting.
- How to Do It: Start by cutting a piece of patterned paper so it's just a little smaller than your card front. Stick this onto a piece of solid cardstock, leaving a tiny border all around, and then glue that whole panel to your card base. Create another, smaller panel with a different paper and your sentiment, then pop it on top with foam tape to give it some real dimension. A few scattered sequins are the perfect finishing touch.
Recipe 3: The Fun Interactive Pop-Up
Honestly, nothing beats the surprise and delight of a card that does something unexpected. A simple pop-up element is way easier to make than you'd think, and it adds an unforgettable, playful touch.
- You'll Need: A card base, an image to pop up (like a stamped character or a die-cut shape), and a small strip of acetate or cardstock for the mechanism.
- How to Do It: Decorate the front of your card as you normally would. For the inside, make a simple pop-up by folding a small strip of cardstock into a little box shape and gluing it right into the card's centre fold. Then, just attach your chosen image to the front of this little mechanism. When the card is opened, your image will spring forward for a fantastic surprise! For more pop-up ideas, check out this great pop-up card tutorial.
Think of these recipes as just the beginning. Feel free to mix and match elements, play with different colour combos, and most importantly, just have fun with it
Adding the Final Flourishes and Heartfelt Words
This is my favourite part—it’s where your card gets its soul. Once the main design is down, these final details are what turn a pretty piece of paper into a treasured keepsake. It’s all about adding that little bit of sparkle and, of course, a message that comes straight from the heart.
Let’s chat about embellishments first. These are the fun little extras that give your card texture, dimension, and a pop of personality. The trick is to make them look like they belong, not like they were just stuck on at the last minute. Think about how they can echo your card's theme and colour palette.
Pro Tip: When you’re adding small embellishments like sequins or gems, try grouping them in odd numbers. A cluster of three or five often looks more natural and balanced to the eye than even numbers. It’s a simple little design secret that really works!
Making Your Design Pop
You don't need a mountain of supplies to make a big impact. Honestly, some of the most stunning cards I've seen use just a few simple, well-chosen additions.
- Washi Tape: This stuff is magic. It’s perfect for creating neat, colourful borders or adding a quick splash of pattern without any fuss.
- Ribbon and Twine: A simple bow tied from a scrap of ribbon or some twine wrapped around a panel can add such a lovely rustic or elegant feel.
- Sequins and Rhinestones: For a bit of glam, a few strategically placed gems will catch the light and draw the eye right where you want it.
- Buttons: These add a wonderfully charming, tactile element. They're a fun, quirky touch that always makes people smile.
My best advice? Play around with placement before you reach for the glue. Lay a few sequins around your main sentiment or wrap a piece of twine around a panel just to see how it feels. It’s all about experimenting until it looks just right to you.
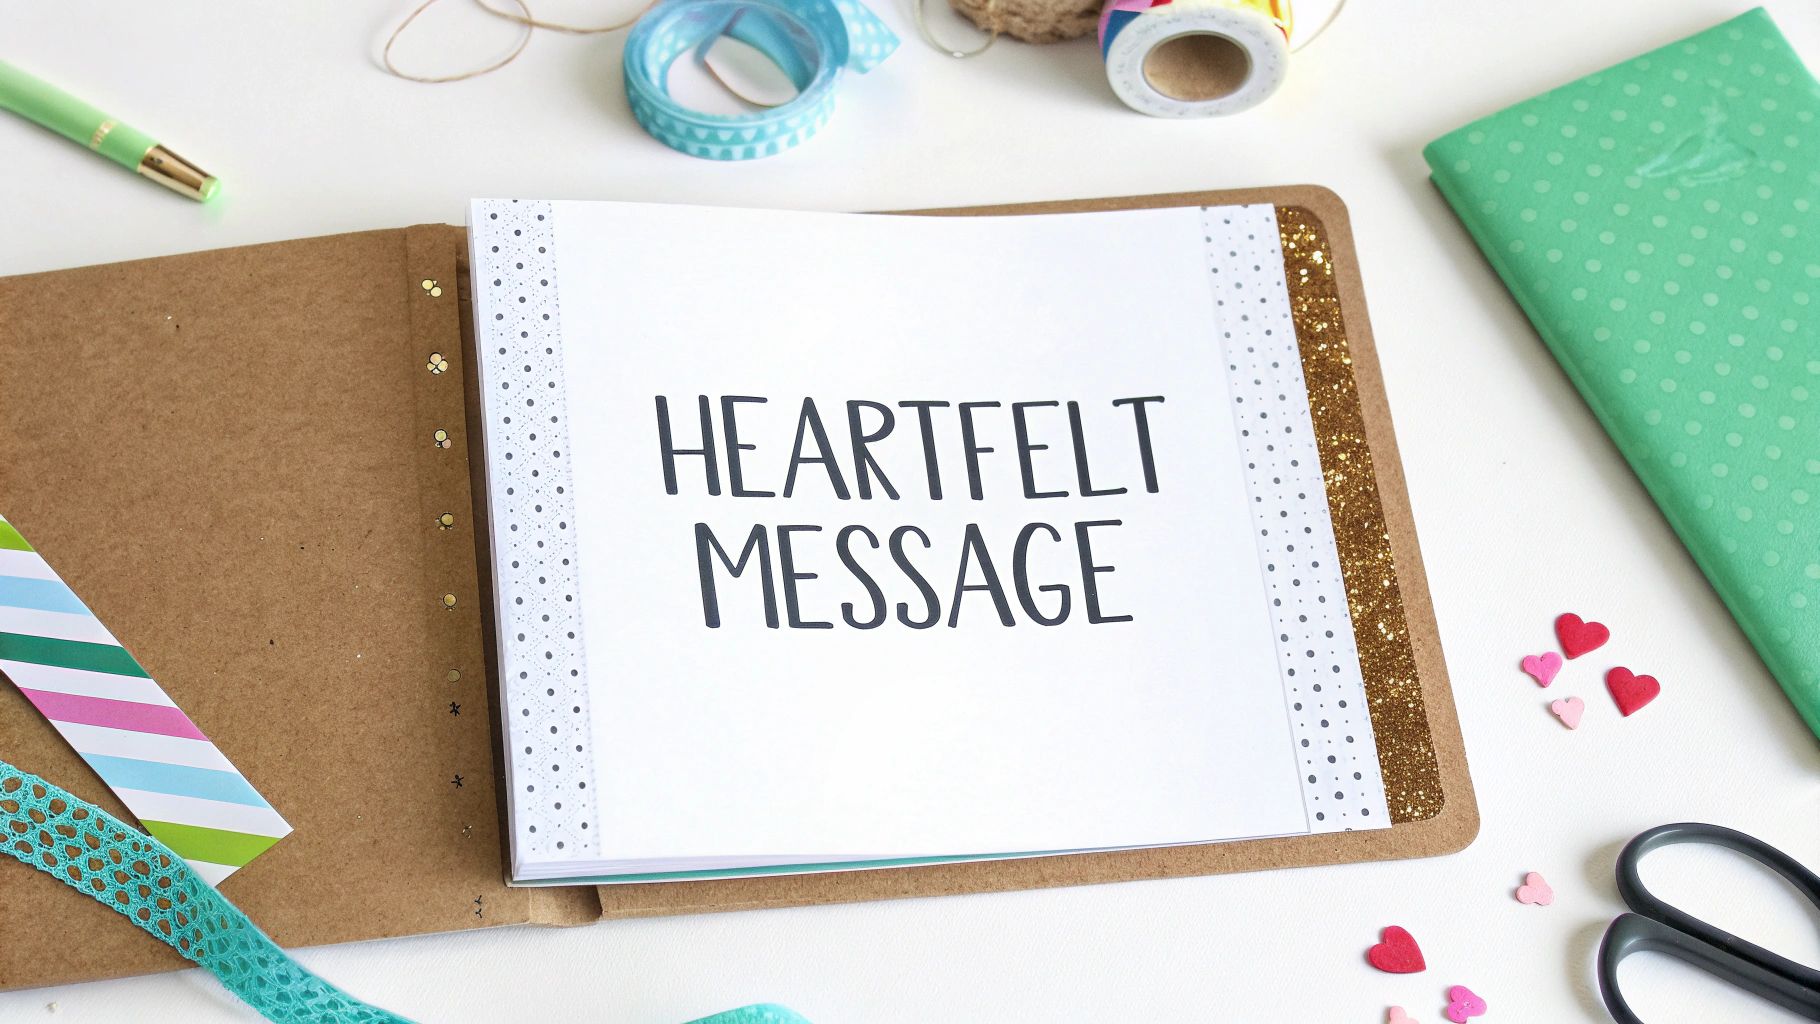
Writing a Message That Matters
Now for the most important bit of all: the words inside. This is your chance to go beyond a simple "Happy Birthday" and write something that genuinely connects. A personal note is what makes the recipient feel truly special and loved.
Instead of a generic greeting, why not bring up a shared memory? Starting with, "Remember that time we...?" instantly makes the card feel intimate and personal. You could also mention a quality you really admire about them, or share a genuine wish for their year ahead. The aim is to make your words as one-of-a-kind as the card you’ve just created.
For anyone thinking of turning this wonderful hobby into a small business, it's great to know there's a growing ecosystem to support local makers. Here in Australia, for instance, some platforms are dedicated to helping artists sell their creations and even get seen on places like Google Shopping. You can check out this supportive network for Australian greeting card makers to see how the local craft scene is flourishing.
In the end, whether you’re adding a single tiny rhinestone or a few heartfelt lines, these final touches are what give your handmade card its real, lasting magic.
Your Card Making Questions, Answered
Jumping into a new craft like making handmade birthday cards always comes with a few questions. We’ve all been there – dealing with a frustrating mistake or just feeling like the creative well has run dry. So, let's tackle some of the most common things people ask.
Think of this as a friendly chat to clear up those little uncertainties that can pop up while you're crafting.
How Can I Make My Cards Look More Professional?
That pro-level finish often comes down to the little details – the things that whisper "quality" and "care." It’s less about having a room full of expensive gadgets and more about mastering a few simple techniques.
One of the biggest game-changers is using a scoring tool before you fold your card. Honestly, it makes all the difference. Instead of just creasing it by hand, a scoring tool gives you that perfectly sharp, clean fold every single time, without any cracking along the spine. Pair that with a paper trimmer for flawlessly straight cuts, and you're already halfway there.
The most immediate upgrade you can make is to start with a good base. Using a thicker, heavier cardstock (I’d aim for around 220 gsm or higher) instantly makes your card feel more premium and substantial in the recipient's hands.
What Is the Best Glue for Making Cards?
Ah, the great glue debate! The truth is, the "best" adhesive really depends on what you're sticking down. Choosing the right one is often the difference between a card that looks seamless and one that's a bit of a sticky mess.
- For paper-on-paper layers: You can't go wrong with a liquid glue that has a fine precision tip or a good old double-sided tape runner. Both give you a strong, invisible bond without causing the paper to warp.
- For heavier embellishments: When you're adding chunkier bits like buttons, gems, or thick die-cuts, you need something with a bit more muscle. I usually reach for strong gel adhesives or glue dots, as they grab on tight without seeping out from behind.
I'm Not Very Artistic. Can I Still Make Nice Cards?
Absolutely! This is probably the biggest myth in card making. You truly don't need to be able to draw or paint a masterpiece to create a beautiful handmade birthday card. It’s much more about simple assembly, coordinating colours, and creating a pleasing layout.
A great place to start is by letting beautifully patterned papers do all the hard work for you. Find a design you love and make it the star of the show. You can then add pre-made die-cuts, a stamped sentiment, and a few simple embellishments. Just focus on creating a balanced design and picking colours that look good together. At the end of the day, it's the thought and effort you put in that makes any card truly special.
Where Can I Find Inspiration for Card Designs?
When you feel like you've hit a creative wall, don't worry – inspiration is everywhere! Pinterest and Instagram are absolute goldmines for ideas. Just search for hashtags like #cardmakingideas or #handmadecards and you’ll find a huge community of crafters sharing their work. I also love watching tutorials on YouTube from craft company blogs; they often break things down step-by-step.
And don't forget to look beyond the craft world! I've found amazing ideas from fabric patterns, unique wrapping paper, or even just a beautiful colour palette I’ve spotted in nature.
Ready to find the perfect finishing touches for your next creation? Bowtique has a wonderful collection of craft supplies and unique gifts to help you create something truly special. Explore our range at https://bowtique.au and get everything you need delivered right to your door.